Welcome back to Part 2 of the Lots of Pockets Apron Tutorial!
 |
| Fabrics should be cut out, too, of course! |
We left off with all of the pattern pieces drawn and cut out, so now we'll get on the the assembly of the front of this apron. The basic idea is to get the chevrons attached to the main fabric pieces, and then make up the pockets and attach those. Just a heads up, this isn't necessarily a super long post, but it does have a lot of photos to help you along each step. It might be overkill for more experienced sewists, but since I taught myself when I was younger, I want this to be doable from a newbie's perspective.
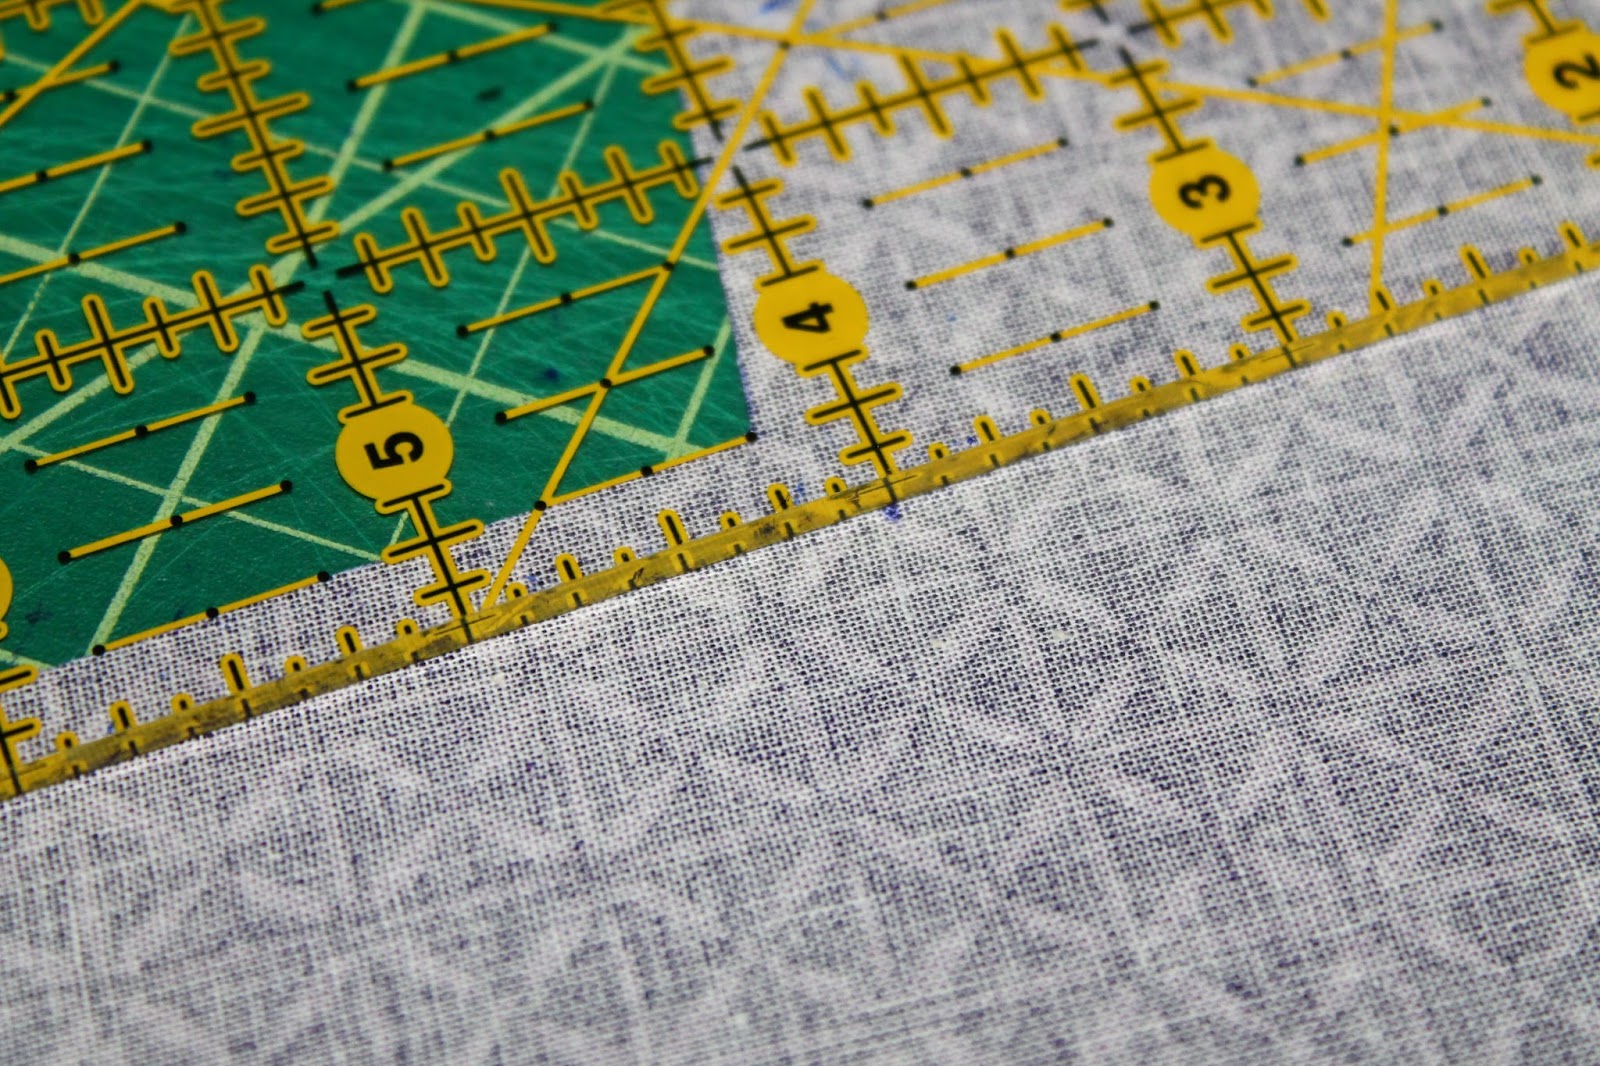
To attach the chevrons, we're going to use the same technique as inserting a godet (but kind of in reverse). So make some marks to help you pin together your pieces! I used a blue pen, but if you make a really dark mark it *could* show up in the lighter fabrics. See, I make these mistakes so you don't have to! On the wrong side of your main front apron pieces, make a light dot a 1/4" from both sides in the bottom-most corner (see how my quilting ruler helps here?).
 |
| Really light mark at the 1/4" mark on the wrong side |
On the corresponding chevron piece, make a mark 1/4" from each side (this one's a bit trickier) in the "V" along the top. I'd have been super bummed without that ruler... highly recommended.
 |
| I know it's hard to see, but the mark is 1/4" from each side of the "V" |
Now use the two marks you made to pin together the two pieces, right sides together. You want the marks to line up perfectly, and the right side of the bottom's "V" to follow the right side of the main apron piece. Put your needle down right on the dot you made on the chevron and sew down the edge.
 |
| The pin is right by my thumb |
 |
| Use a 1/4" seam allowance |
Here's what it should look like now:
 |
| Started right in the marks and followed the edge out |
This part made me nervous at first, because I'm fairly prone to clipping too far. But you really do have to clip a notch almost right to the stitch line. The closer you get the better the point will look. Promise.
 |
| Clip a single notch right up to the stitch line |
 |
| Here's that notch in close-up |
Now fiddle the other side of the chevron to the corresponding side of the main apron piece and pin in place. I find it easier to start this process by finger-pressing the seam I just made down and moving the fabric to that side as much as possible.
 |
| The closer you clipped that notch, the easier this is |
Turn the pieces over so the main apron piece is facing up this time. Put the needle down into the same starting point as before. If you're off just a teeny tiny bit (like one stitch length), it's ok. Now follow the edge out again to finish attaching the chevron.
 |
| It helps to put the needle down before you put the presser foot down, to find the starting point |
Press the main apron fabric down and repeat for the remaining 5 apron pieces. I may have used a little spray starch to help keep everything neatly pressed.
 |
| The notch makes this very neat |
Here's the finished front pieces:
 |
| I didn't bother clipping the little seams sticking out on the sides until later, but you can do it now |
Now on to the pockets! These are pretty easy. Just press the edges in, starting at the bottoms, then pressing the top, and finally pressing the sides. I wasn't super exact here, but aim for about a 1/4" pressed seam on the sides and 1/2" on the top (we'll be inserting the elastic there later).
 |
| Bottoms pressed up |
 |
| At the top, press about 1/2" over |
 |
| The side pressed in |
To make the edges neat, open up the sides at the top and fold the corner in (illustrated below), then press again.
 |
| I find it neatest to sew this with the right side up |
Hide the thread ends in the pressed side seams.
 |
| Tie a knot, thread a needle, hide the thread in the side seam. Done. |
To add the pockets to the main front piece, we need to make a few marks again! Once at the top, and once where you want the bottom of the pocket to be (this can be wherever you prefer, mine was 4" from the edge of the chevron).
 |
| Mark the middle of the upper edge of the main piece (on the right side) |
Using the mark of the middle at the top, lay a ruler down to the point of the chevron. Measure up from the point of the chevron to where you want the bottom of your pocket to be, and make a *tiny* mark. The lighter the better. I could barely see mine!
 |
| Mark at 4" for the pockets to be relatively in the center of the apron |
Pin the pocket so the bottom just covers the mark and the bottom sides are equally far from the sides of the main apron piece. Don't worry if the top sides look a little off, that'll get fixed when we sew them down.
 |
| Pinned down to the main piece |
Sew the pocket down to the main front piece starting in the bottom right corner and sewing toward the bottom point. Once you reach the bottom, lift the presser foot and turn the piece to sew up the other bottom side. Stop in the opposite corner, do not sew all the way up! When you've done this, pull the threads to the backside, knot, and clip tail ends. I used an 1/8" seam allowance.
 |
| Put the needle down in the corner first, then lower the presser foot (this makes it so much easier) |
 |
| Turning at the bottom point |
Now hold the right side of the pocket (where the elastic is tightly jammed into the corner, remember?) parallel to the edge of the main fabric. Make sure there's at least 1/4" for the seam allowance left on the side. Sew down starting at the top of the pocket (I made 1-2 stitches before the pocket was attached) using 1/8" seam allowance and connect it to the corner where you started sewing earlier.
 |
| 1/8" seam allowance |
Now feed the elastic carefully into the other corner. This mainly involves wiggling the piece of elastic slowly over to the other side while pushing the gathers to the opposite side. Once the elastic is firmly jammed into the other corner, don't let go! I did. Guess who has regrets for wasted time? This girl.
 |
| Before gathering the elastic |
 |
| After gathering the elastic |
Keeping the elastic in the corner, pull the other side of the pocket parallel to the main fabric like you did on the opposite side. Start sewing in the lower corner and sew up the side. Don't let go of the elastic until you've sewn over it. I know I sound like a broken record... I want to apologize, but I also want to save you the frustration of sewing the same pocket 3 times!
 |
| 1/8" seam allowance again |
Repeat these steps until you have all the front pieces of the apron assembled.
 |
| I went back and added topstitching on the colored edges of the chevrons (1/8" seam allowance to match pockets) |
Lastly, stitch together the panels to form the entire front, using 1/4" seam allowances. Press open the seams very very carefully (it doesn't look so cute if you accidentally squash the pockets).
 |
| All connected and pressed :) |
Congratulations, you survived Part 2 of the picture-heavy Lots of Pockets Apron Tutorial! In the next section we'll go over the back of the apron, attaching it to the front, and adding the strap along the top. It should be shorter (fingers crossed). Until next time!
Happy Sewing,
Lea


No comments:
Post a Comment