And the pants are finally complete!
 |
| Finished pants |
A quick word about the fabric that I used for this project, and a confession: these pajama pants are not for me. They're actually for a friend of mine who is turning 25 this week and has been complaining about "getting old". I know, the nerve. His girlfriend (my best friend) and I are going to have a good laugh when he opens these. After all, how many old men still have Star Wars jammies? As a result though, I used his measurements for the pattern, not mine, so they were a bit big for me. But I still wanted you all to be able to see what they looked like on a person, so there.
So, how did I sew these bad boys up? Well, grab your pants pattern (either self-drafted from the last post, or copied from an existing pair), and we'll be on our way. First though, let's get the rest of the supplies together...
Supplies:
Main fabric (I used about 2 2/3 yds, but it depends on your pattern pieces)
Twill/Ribbon/Elastic (mine was 1 1/2 yds long, once again depends on your pattern)
Thread
Sewing Machine
Scissors/Rotary Cutter
Ruler
 |
| SUCH cute fabric, am I right? |
I really do enjoy this cotton print though. My friends are both big Star Wars fans (as am I), and the cotton is light enough that it won't be stifling in the summer. Of course, the fabric explicitly says "not intended for children's sleepwear," but I'd hardly call a 25 year-old man a child. That counts, right? Besides, I feel like every fabric that seems like it would be perfect for pajamas is labeled "not intended for children's sleepwear". So, let's get back to the tutorial, shall we?
Lay out your pattern on your fabric. If the fabric has no direction to it, go ahead and just fold it in half so you can cut out the two pieces at the same time. My fabric had a direction of course, so I had to cut each piece separately. Otherwise we'd have some upside-down Troopers on one leg. Leave a little space around the edges for seam allowances, unless you already added those to the pattern. I didn't.
 |
| Make sure the center line is on a straight grain |
Now cut out those pant legs! Make sure you flip the pattern piece over once if you're cutting the pieces separately like I am, so they'll fit right-sides together in a bit. And make sure you include a seam allowance. Mine is pretty narrow since I'll be serging the edges and sewing just outside that.
 |
| I used a 3/8" seam allowance... sorta. I just eye-balled it. |
Make sure to carefully cut around those crotch curves. I still don't like the sound of that, but it is what it is.
 |
| Still leaving the seam allowances |
To cut my second piece (and make sure it had the same seam allowances as the first) I just flipped it over and laid it on the fabric. That way I could more or less match the strips together, too. You may notice there is a tiny bit of fabric missing at the bottom. It is on the front-side of the pattern, however, and I will be trimming that later to match up the hem, anyway. You'll see what I mean when we get to it.
 |
| Cut the second piece |
Now we have two separate pant legs, right-sides together. At this stage, you can serge the edges along the inseams and crotch curves (separately!) if you don't want to finish those seams later. I thought it would look neater.
 |
| Two pattern pieces cut out |
Next, pin the front crotch curves together. Then pin the back crotch curves together.
 |
| Front crotch curves pinned right-sides together |
Sew the two "J"-shaped curves. One after the other. Leave all other edges open.
 |
| Just the two "J"s, ok? |
See what I meant when I said I was sewing just outside the serging? This way I can open up the seams and they'll still be neatly finished. You could just serge the whole seam together, or zig-zag the edges for a similar effect.
 |
| Sewn just outside the serging |
Once the two crotch curves are sewn, iron the seam allowances open. Skip this step if you decided to serge them closed. Or maybe press them to one side. Your choice.
 |
| Before pressing |
Since it's a curve, it might help to use a tailor's ham. Or, if you don't have one of those, just be careful and use just the tip of your iron, keeping your fabric as straight as possible with the other hand. I really need to get myself a tailor's ham. Maybe next time.
 |
| After pressing |
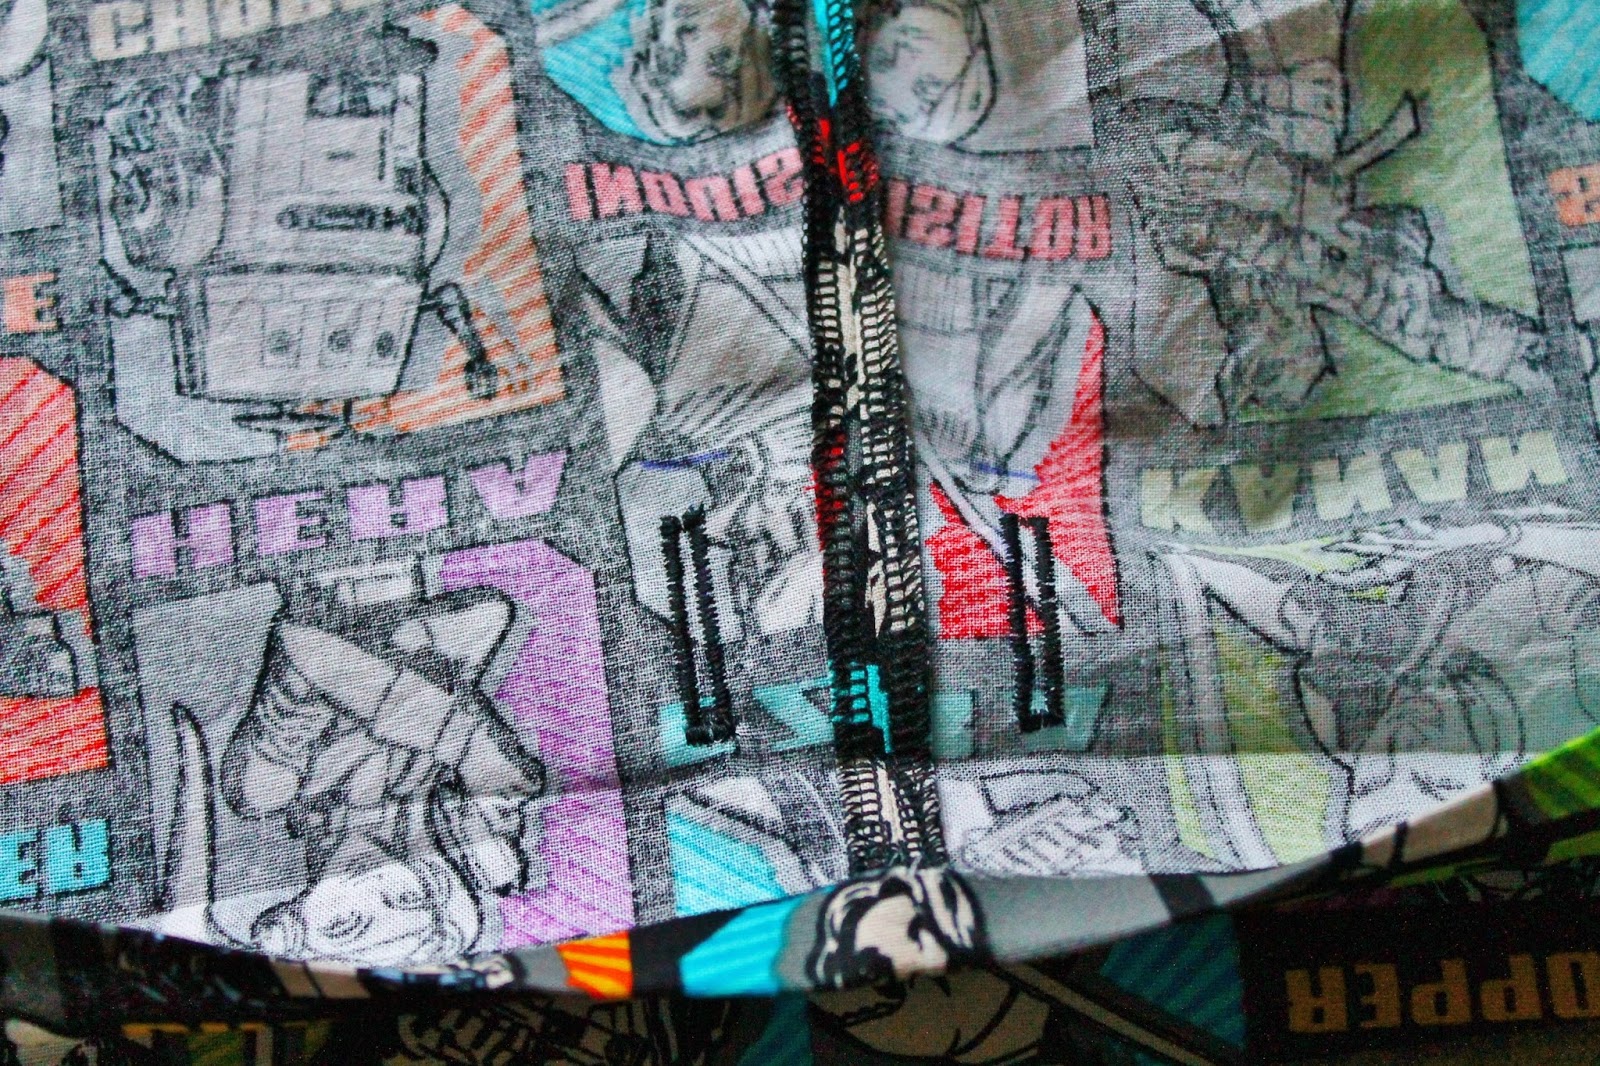
Here's another picture of the freshly pressed open seam. Looks super professional, no? I even sorta matched the fabrics right.
 |
| Inquisitor looks angry |
Now comes a bit of finagling (spelling?). Match the crotch curve seams together and pin together the inseam along its entire length. since the back crotch curve is longer in the back that the front, it kind of picks up along the inseam here. Work your way down from the inseam along each side, by the way. Remember how I said I'd have to trim the hems anyway? Since the front inseam is longer than the back, we'll have to trim the leftovers a bit. But it still looks fine.
 |
| Inseam all pinned |
Here's a closer look at where the crotch seams meet up at the inseam:
 |
| Close-up |
Sew the inseam from one side to the other. Or, start at the middle of the inseam and sew down one side at a time. Though, if you really want to make it a 3-seam project, just go ahead and sew the whole thing at once. I did, and I think it turned out fine. Just make sure to match up the crotch seams.
 |
| Sewing close to the serging |
Once the seams are all sewn, it's time to finish up the waistband! Fold and press about 1/4 inch to the wrong side of the waistline.
 |
| Fold #1 |
It might be a little tricky because the waist is at a slant, but this is what you should end up with:
 |
| Folded under once |
Fold over the waistband a second time, with enough room to encase your twill, ribbon, or elastic comfortably.
 |
| Fold #2 |
Here's what we've got so far:
 |
| Fully folded waistband |
Before we sew it shut, let's prep the holes for the twill or ribbon to come out of. If you're using elastic only, skip this step. Make two lines, one on either side of the front crotch seam, within the area that will be covered by the waistband. You want to make the marks so they will be on the outside of the pants when wearing them, so double check that you have placed them correctly. The lines should be as long as the twill or ribbon is wide.
 |
| Mark lines as wide as the twill/ribbon |
Use your buttonhole foot on your sewing machine to make neat borders for where you'll make a cut. Or, if you can't find that lousy-buttonhole-foot-that-only-ever-gets-used-once-a-year-anyway-for-goodness-sake, just use a narrow, tight zig-zag to go around the lines.
 |
| Zig-zagged buttonholes |
Now we're ready to finish the waist band. Sew the waistband, leaving enough room for the ribbon/twill/elastic. If you are adding elastic, add it just before closing up the waistband.
 |
| Sewing the waistband |
Go ahead and thread those tail-ends onto a needle and just stick them into the waistband lining, then clip off the remaining ends.
 |
| Tailends jut before clipping them off |
Cut the buttonholes carefully, making sure not to cut into the zig-zagged stitches. I used the smallest, sharpest scissors I own.
 |
| Opening the buttonholes |
Finish the ends of your twill or ribbon anyway you want (I folded mine twice and sewed a narrow edge, but you could just knot it), and attach one end to a safety pin.
 |
| Twill and safety pin |
Start feeding that twill or ribbon through the waistband casing until it goes all the way around.
 |
| Feeding the waistband |
And the top of your pants are finished! Just a bit more left, now.
 |
| Top all finished |
To finish the hems, first we need to cut off the excess fabric. Lay the pant legs so that the hem is flat (this means the upper legs may look a little twisty, but that's ok).
 |
| Laid flat |
Just cut off the extra bit, using a ruler to keep the line nice and straight.
 |
| Trimming the hem |
Next, fold the hems under about 1/4 inch. Press firmly. Since the hems are at a bit of an angle, like the waist, they may fight you a bit. But you will win.
 |
| First fold on hem |
Fold the hems under one more time, however wide you've decided you want them. It helps to try on the pants and see how much you need tucked under at this stage. I decided to go with about an inch of hem at the bottom. Sew the hems.
 |
| A little fussy, but it submitted to my Force ;) |
And finally, your pajama or house pants are done! Try them on, wear them around, and impress everybody with your very own creation! These are super easy to whip up once you have the pattern, so Christmas presents, birthday presents, and quick little homemade gifts are a definite possibility. As for these particular pants? Well they just got packed up and put in the mail to my best friend so she can wrap them up for her boyfriend. Hopefully he likes them as much I do.
 |
| Finished pants |
I hope you enjoyed this little tutorial, and I'd love to see what you come up with! There's so many great fabrics that could be used for these pants. Leave a comment if there's any part of the tutorial that's giving you problems, or if you have any suggestions for me.
Happy Sewing,
Lea


No comments:
Post a Comment