 |
| Good weather to go to the lake! |
These pants will actually be more of lounge or pajama bottoms than true pants (like work trousers or jeans), but they are super simple to make, and really nice for summer if you use a light fabric. Or, if you're lucky and live in a region where the coming September means cooler weather, cozy house pants if you use flannel!
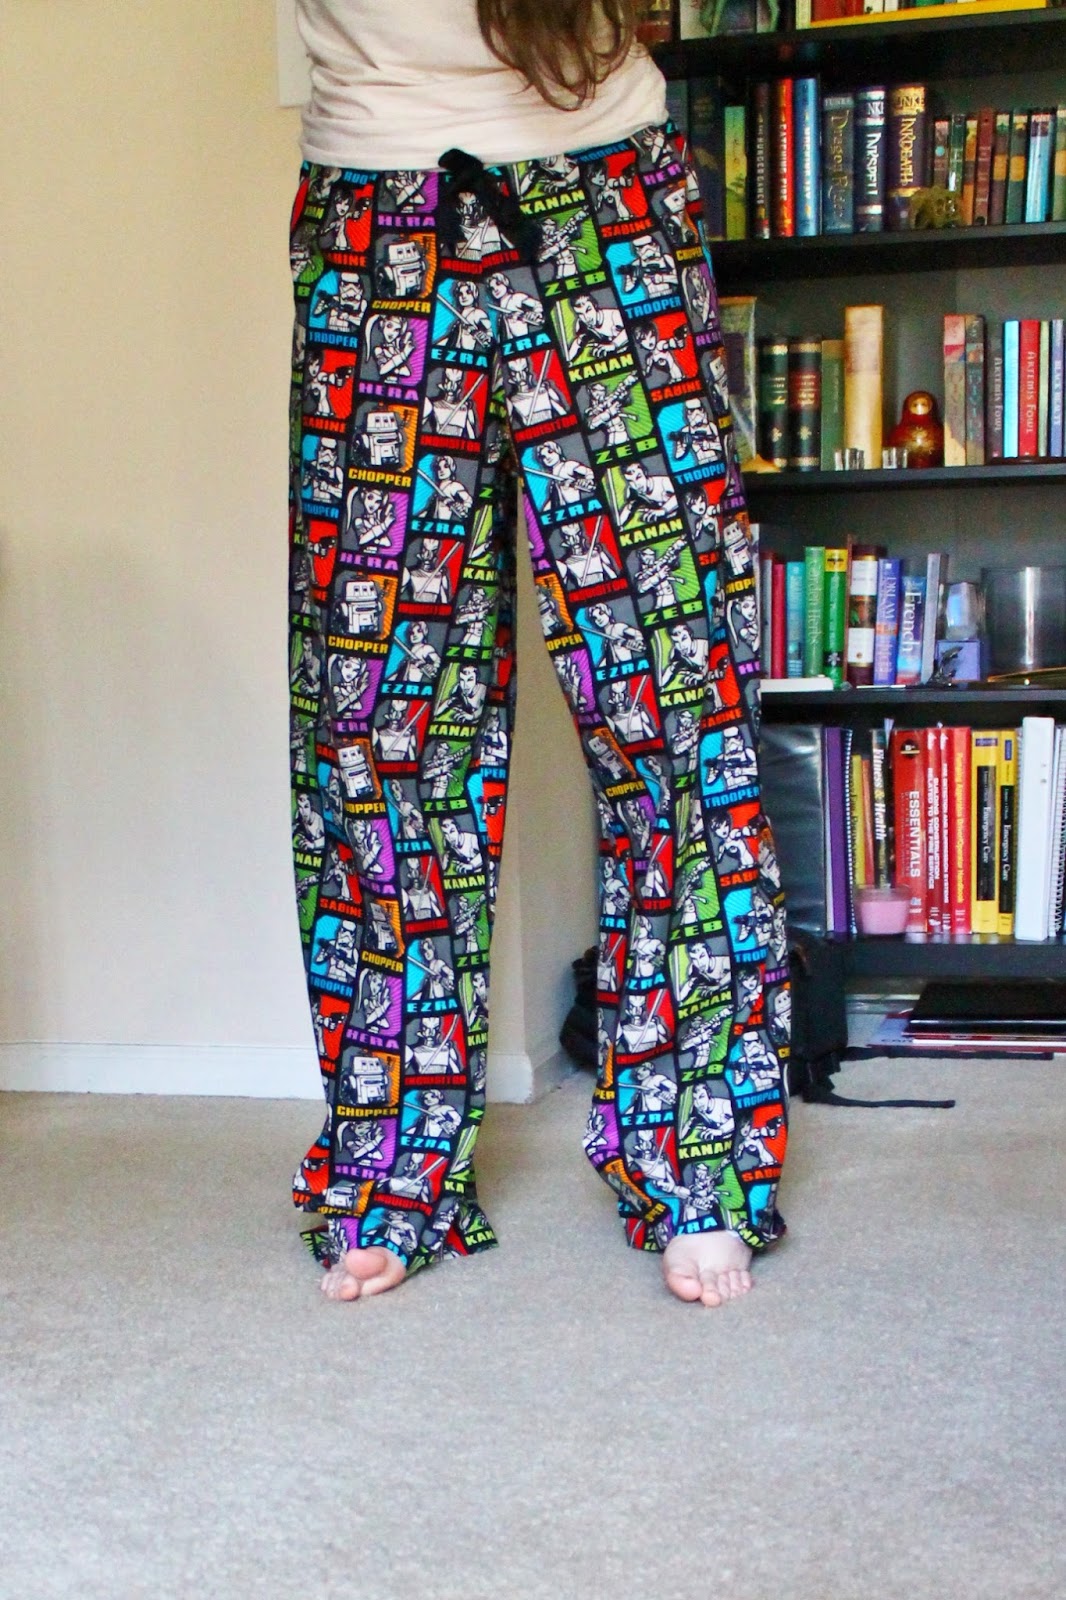 |
| View of completed pants |
 |
| Here's an idea what we're going for... yes, I scribbled this on break at work |
Hip measurement -- measure around the largest part of your... ahem... bottom.
Thigh circumference -- measure at the widest point, please, or your new pants will be very uncomfortable.
Inseam -- measure from your crotch down to where you want the hem to end.
Front Length -- measure standing straight, from where you want the pants to sit to where the hem ought to end.
Back Length -- measure in same fashion as front length, but bend forward (as though doing toe touches in PE class) so the pants will still cover you when you sit down.
Crotch -- there are actually two measurements here, but they make a whole. Measure the length while sitting down and run the tape measure from your backside (however high you want the waist to be) to your frontside (once again, however high the waist will be). Make note of where the inseam ought to be (generally, this means the crotch length of the back is longer than the front).
Congratulations! You've just taken measurements to make your very own loose-fitting pants! And, if someone walked in on you while you were taking these measurements as well, we can share in the awkwardness of that moment! I do apologize for all the exclamations, I'm just very excitable right now...
Now that you have a bunch of semi-meaningless numbers assembled, let's see how they actually make a pattern. First, get out some old newspapers, or a giant roll of butcher paper. I'm cheap, so I use the old newspapers my work throws out each week. Tape enough pieces together so you have a fairly large surface area. Mine measured about 54" (the width of a standard bolt of cloth) by 40". The bad lighting is a mixed result of summer storms and me trying to fix that in the photo editing program.
 |
| You can sort of see the lines I made to start my pattern |
Make a horizontal line parallel to the first, and about 2 inches higher, but just on one side of the pattern (this will be the front side). On my pattern, I chose the right side to be the front.
Next we mark the width of the pant leg (aka the thigh circumference) on the first horizontal line we drew. Divide your thigh circumference in half and add 2-4 inches, depending on how loose you'd like the fit. Mark whatever you get on the first horizontal line, measuring out from the vertical line in either direction. So, in my case, 17 inches on each side of the vertical line. Mark the same width on the second horizontal line, minus an inch.
Add a horizontal line for the bottom of the pants pattern on the middle vertical line, using the measurement for the inseam, plus whatever you'd like to add for a hem (mine is a moderate hem, about 1") to measure down from the first horizontal line.
Make a vertical line from the marks you made on the top two horizontal lines down to the bottom horizontal line. I tapered mine in a bit because otherwise the leg would be ridiculously wide at the bottom for me.
Next we'll make the line for the hip/waist at the top of the pattern. So, take your hip measurement from earlier and divide by two. Add 1-3 inches for a little more room. Make a slightly angled line using this length about 12-14 inches up from the first horizontal line. The line should be angled up towards the back and down towards the front ever so slightly. This just helps keep you covered when you sit down a bit more, and gives the back of your pants pattern a little extra room. The new line should be centered on the vertical center line.
Add another line 2 inches above the hip/waist line you just made for the elastic or ribbon casing. You could just cut a separate piece for the casing, but I wanted to include mine in the pattern.
Finally, we add the crotch curves (sounds lovely, doesn't it?... *please note the heavy sarcasm*) by connecting the places we marked on the first two horizontal lines with the hip/waist line that we just added. Your back crotch curve should be a little longer than the front crotch curve, and that's why we set the second horizontal line a little higher in the beginning.
Hopefully your pattern piece looks somewhat like mine now, so just go ahead and cut it out!
 |
| Finished pattern piece |
Please note that I did not include any seam allowances in this pattern (although my scribbles made note to add them). I decided it'd be easy enough just to add the allowance while I'm cutting it out, since this isn't a super exact pattern. Besides, you should always make a muslin or practice version to make sure it fits before you cut the nice, pretty fabric. So, that's what I'll do.
Next time we'll be cutting fabric and sewing our pants pattern together! It'll be super easy, and I'll have more pictures of the process. I'm sorry for how word heavy this post got, but there was really not better way to explain the pattern-making process, I'm afraid. As always, if you have any questions, or need a little help untangling my instructions, leave a comment down below!
Happy Sewing,
Lea
No comments:
Post a Comment