 |
| Great relief for upset stomachs and sore muscles! |
Well, I certainly didn't expect this week to turn out quite this busy! Earlier in the week we had birthdays to go to, and festivals to see, and yesterday (being the 4th of July, and fireworks being legal in the state of South Carolina) DH and I had a party for two ending with a call from the volunteer fire department for help with a motor vehicle accident.
That last bit is pretty normal actually. DH is a career firefighter and volunteers with the county in his free time. Last week we were having some pretty bad thunderstorms, and every time a power line went down his pager went off like there was no tomorrow. Even at 3 in the morning. Yay for sleep deprivation!
Anyway, with all that running around, my knee hasn't been feeling so hot. Figuring that I hadn't completed my second project for this week yet, I whipped up a quick rice hot pad (you can toss it in the freezer as a cold pack, too). It's sitting on my knee all toasty as I'm writing this now. Mmmm, cozy. And it took less than an hour to make! That's pretty rare for me, seeing how even the smallest projects turn into epic sagas with my less-than-stellar sewing skills and techniques. But hey, I'm learning every day!
So, what do you need to make your very own Hot and Cold Pack? Follow along!
Supplies:
2 Fabric Rectangles (however big you want the pack)
2-3 lbs. Rice (depends how full you want to stuff it)
Thread
Sewing Machine
Scissors/Rotary Cutter
Ruler
Chalk
 |
| Rice and fabric... pretty simply, huh? |
Cut out the two rectangles of fabric however large you want them. Mine were 8" x 18" because I conveniently had a piece of cotton fabric twice that size. You can cut the fabric on a fold like I did if you want it to all be the same. Or you can use two different pattern fabrics. In either case, I find 100% cotton to work best.
 |
| 8" x 18" cut on the fold |
Turn the fabrics over so they're right sides together and sew with a 1/4" seam around 3 of the sides (preferably the 2 long sides and 1 short).
 |
| 1/4" seam allowance |
You should basically have a long bag now. Clip the corners at the bottom and turn the whole thing right side out and press.
 |
| Wrong side out |
When you turn the rectangle right side out, fold the raw edge at the top under 1/4" and press. This is to make sure you leave the proper seam allowance at the top and finish the pack neatly.
 |
| Right side out |
Now you'll want to make some marks where the rice will be divided. I just wanted 4 sections in my pack, so I made a mark at the center, and then at the quarters. Using chalk is nice because you can brush it off when you're done.
 |
| Mark with chalk so it can be brushed off later |
This is what my pack looked like once I'd marked it. You know the saying measure twice, cut once? Well, it applies to marking, too. Whoopsie!
 |
| Divisions all marked out |
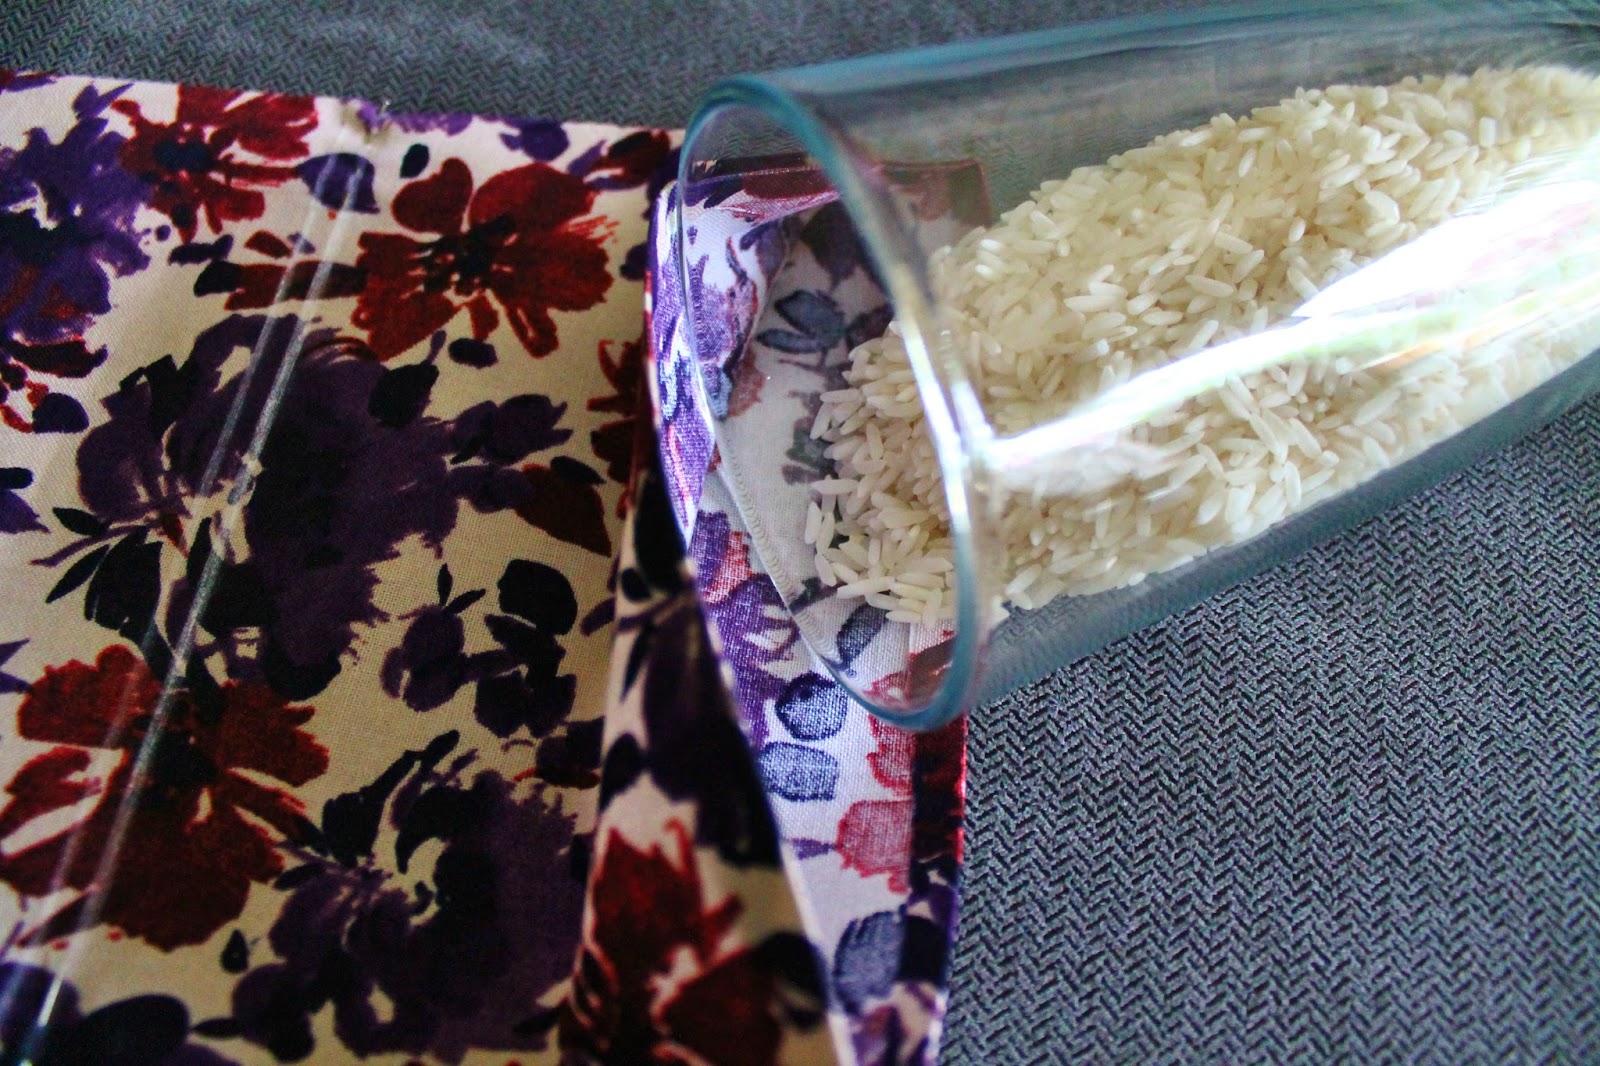
The rice comes next! You can pour as you go in the next step, or if you're like me, you can measure each section's worth of rice so they're all equal. I didn't have exactly 2 pounds of rice, so I poured it into glasses until they were all even. Remember to use one glass (or whatever other containers you're using) per section of the pack.
 |
| Equally divided |
This part was a bit tricky to photograph for me, as I have yet to evolve into a 3-armed being. So holding the pack, the glass of rice, and aiming and shooting the camera definitely didn't work. But I hope the photo below explains the idea a little. Just dump the first glass of rice into the pouch.
 |
| Adding one glass of rice |
Pin below the stitching line to keep the rice from spilling past the intended line as you're sewing it shut. The easiest method for me to do this was to hang the pack over the edge of my sewing table (rice side down), put a nice fat weight (my sewing machine) on the top, and then pin along the chalk line. This helps keep the sides even, so it doesn't bulge more on one side than the other.
 |
| Pinned up |
Following the chalk lines, sew the section of rice closed. Make sure you go from the very edge of one side to the very edge of the other.
 |
| Needle in center position to make following the chalk line easier |
Continue adding the rice section by section, closing them up as you go along. When you get to the last section, sew with an 1/8" seam allowance to close up the pack. Since you folded those sides in earlier, it should look very neat!
 |
| Final seam |
Knot and tuck those thread ends into the pack now, and your Hot or Cold Rice Pack is finished!
 |
| Final product |
Just pop it in the microwave -- use 30-second intervals -- to heat it up, or stick it in the freezer overnight to use as a cold pack. Make it hot to soothe an upset stomach (or cramps, ladies!), or relax tense muscles and aches. And cold is great for headaches, bruises, and sore muscles, too!
 |
| Use cute fabrics to make one for everyone in the family! |
Pretty useful for a 30-minute project! And since it's so quick and easy to do (not to mention rice is cheap!), I'm sure I'll have one for everyone in my family soon. Next time I'll use two different fabrics, as well. I like having coordinating fabrics. But for the first one, this hot pack is pretty great (my knee is already feeling much better).
As always, questions or comments are welcome!
Happy Sewing,
Lea


No comments:
Post a Comment